
Take a clear plan to the shop.
Bring stock, material estimates, machining and assembly information together before exporting.
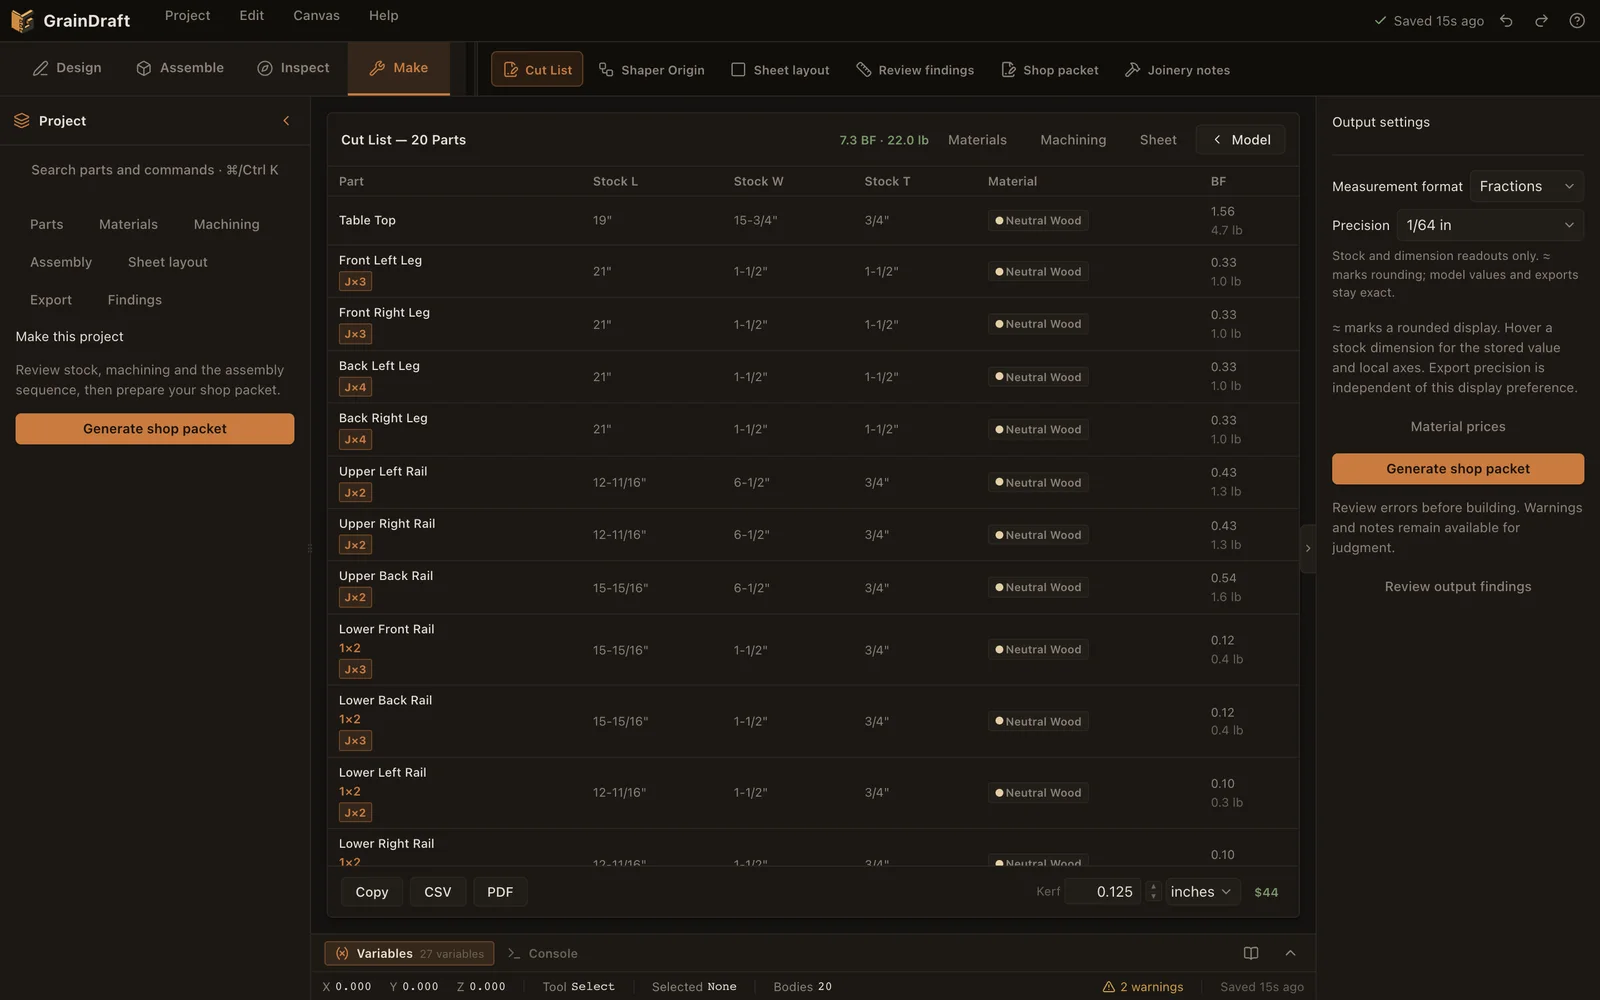
What Make does
01
A live stock list
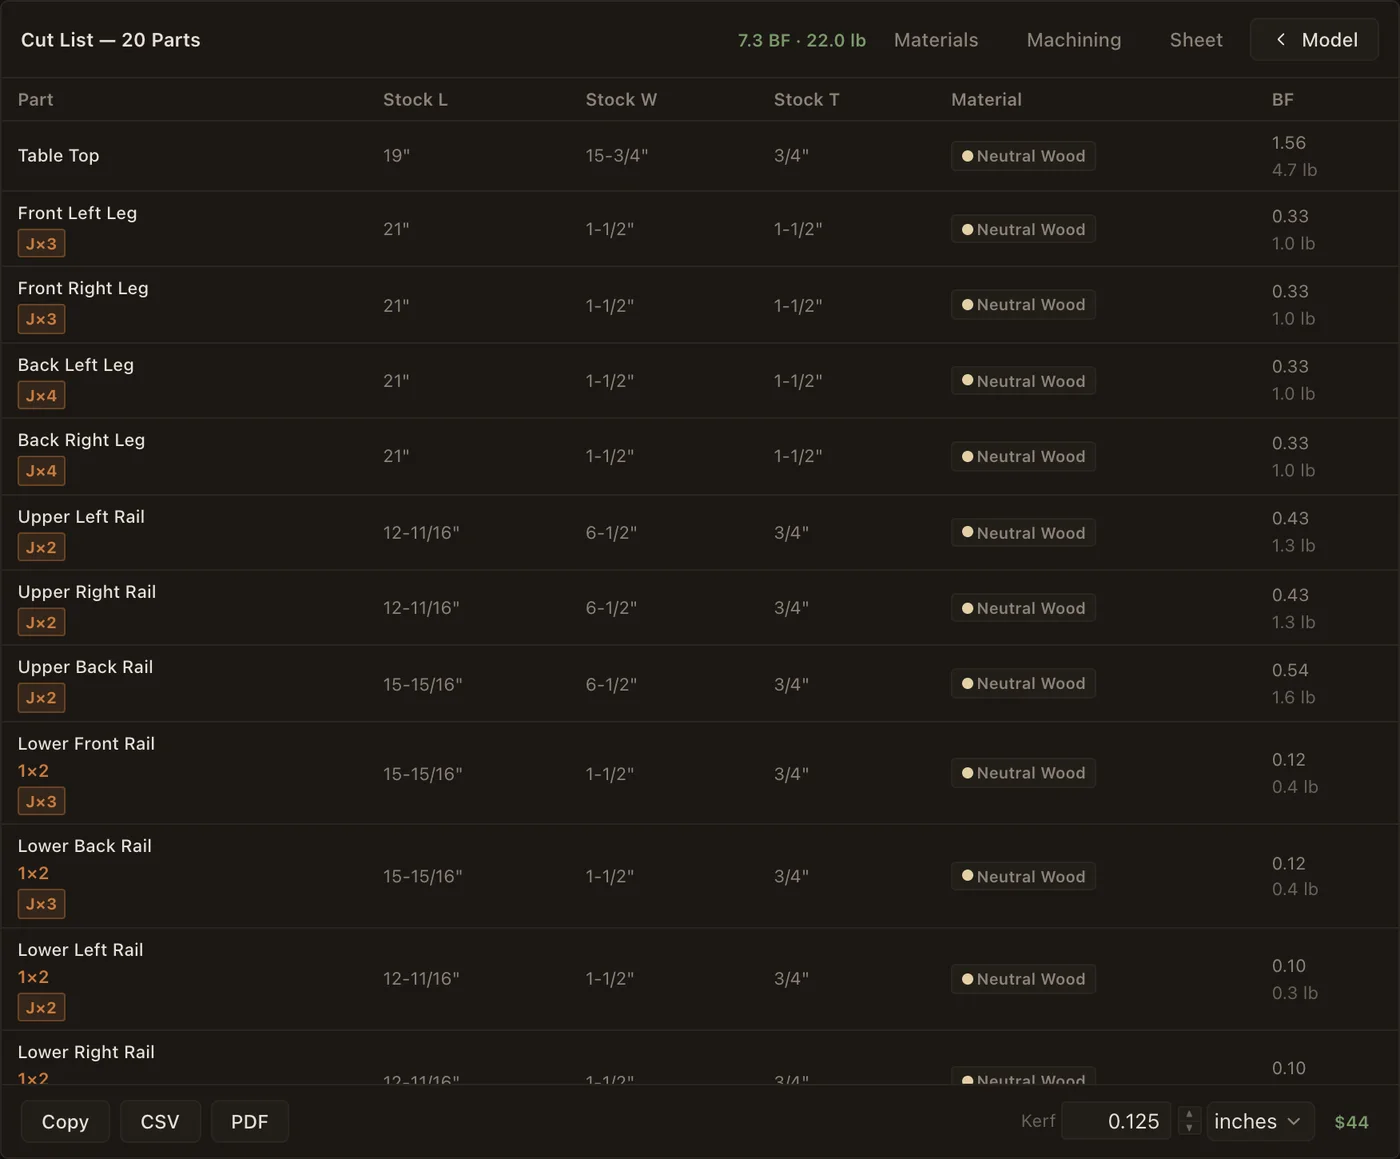
Review stock length, width and thickness with material and board feet, and enter kerf in inches or millimetres. CSV and PDF outputs carry your cut list out of the browser.
02
Material estimates
Set species prices and compare project totals. Hardwood board-foot and dimensional-stock linear-foot pricing reflect different purchasing methods.
03
Sheet layout
Arrange plywood and MDF parts on quarter, half or full sheets, then print a pencil-marking PDF with each part measured from a datum corner. Parts that do not fit are listed.
04
An illustrated shop packet
A step-by-step build guide by default: cutting list, part sheets, joint cards, machine settings and assembly stages, for power tools, hand tools or Shaper Origin. A technical reference is still available.
05
Supported Shaper Origin cut files
Inspect exact setup previews and export supported mortise-and-tenon, box-joint and profile operations with encoded depths and a custom datum anchor. Omitted work is listed; verify settings on-tool.
06
Finished-solid exports
Export STL, OBJ and glTF geometry for downstream workflows. These mesh files are distinct from operation-specific machining files.
The setup and the cut file belong together.
Choose the board, inspect the exact face and datum, then download its setup SVG. Add Origin setup pages and matching files to your shop packet to keep the bench instructions with the work.
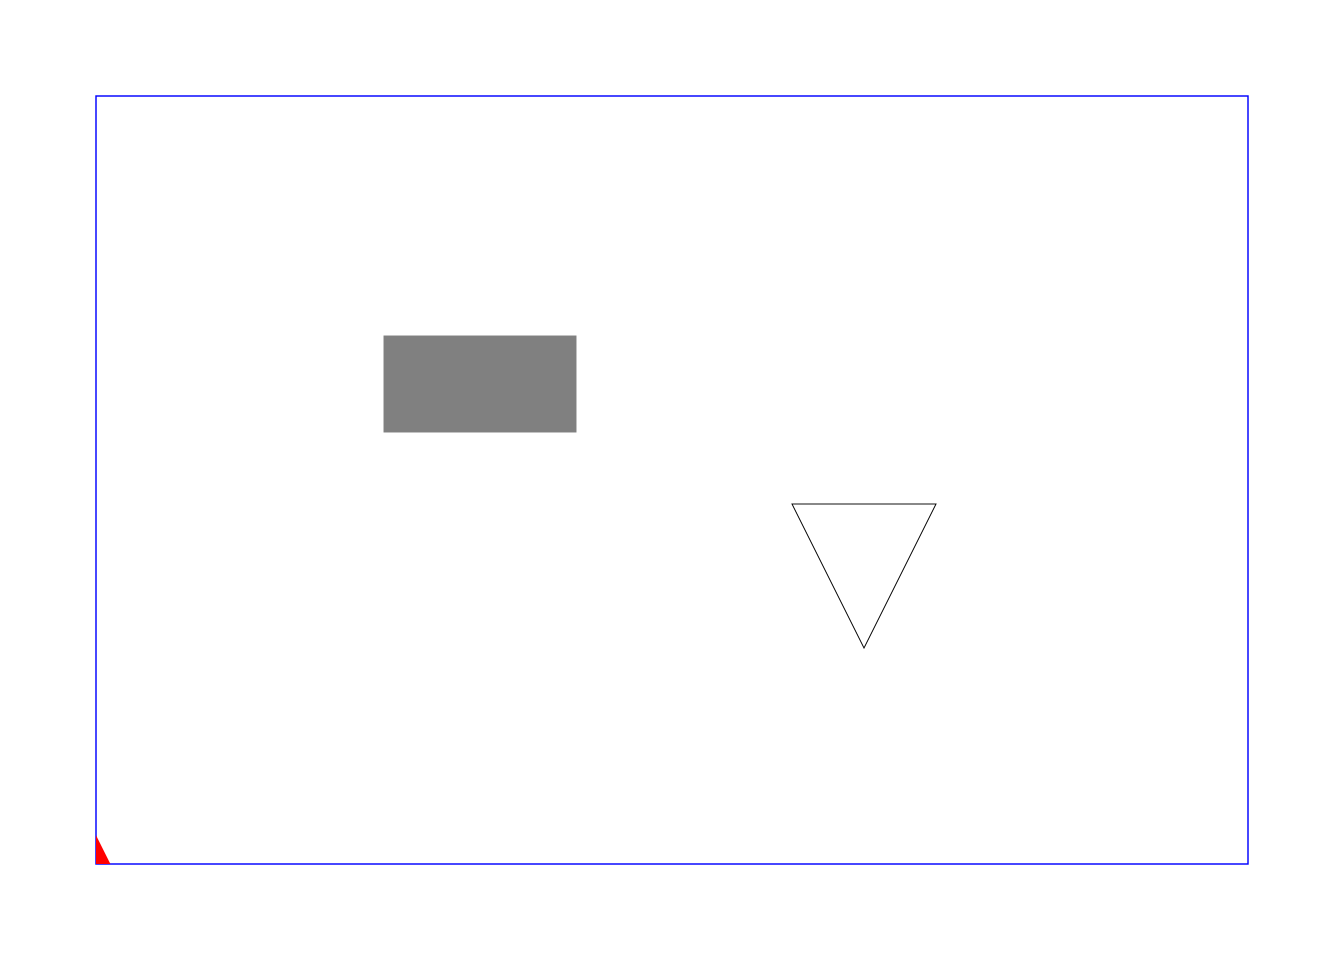
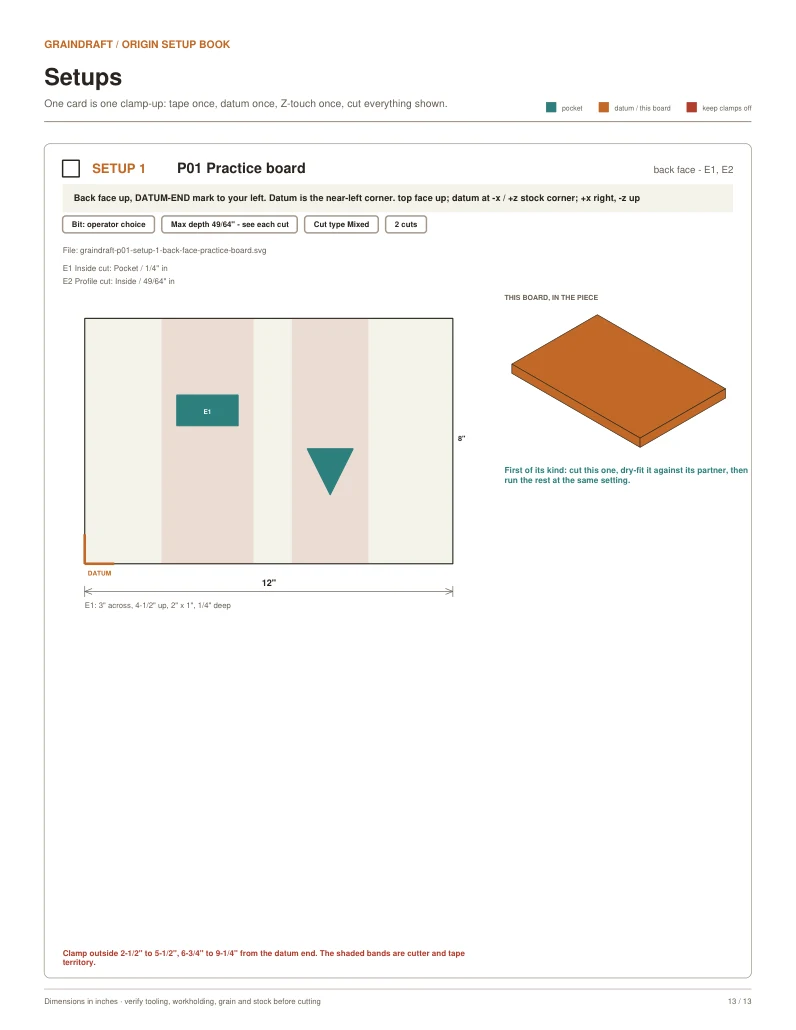
Software-checked example, not physically cut on Origin. Confirm scale, anchor, bit, cut type, depth and workholding before a scrap test. Only supported operations generate SVGs; other work is listed separately.